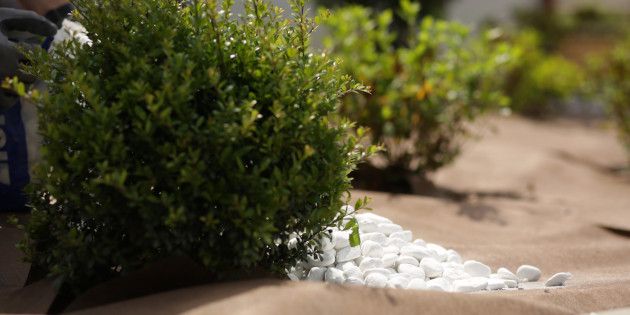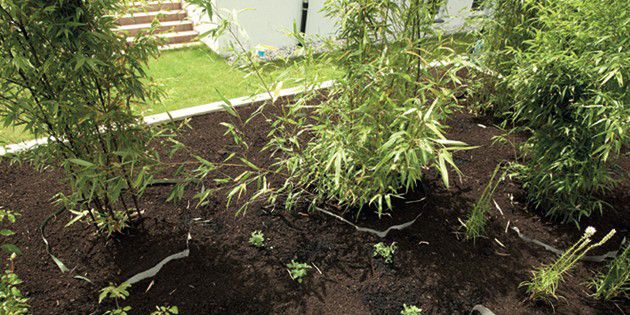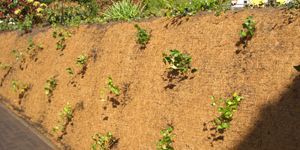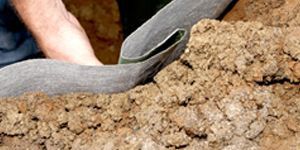
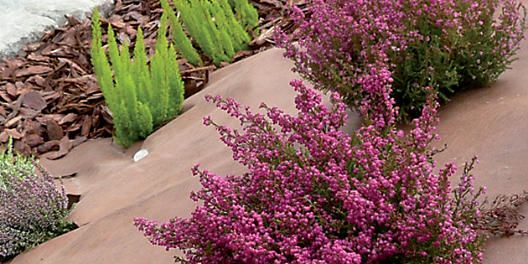
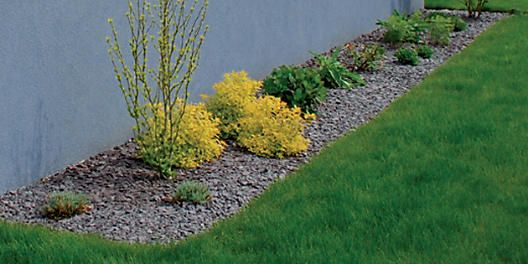
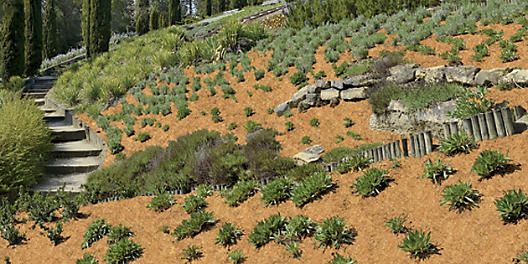
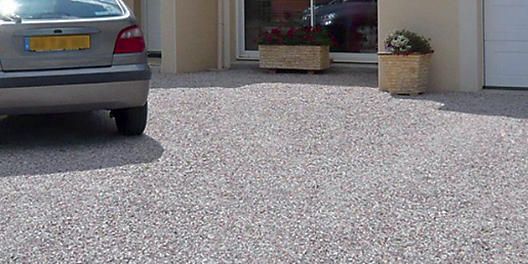
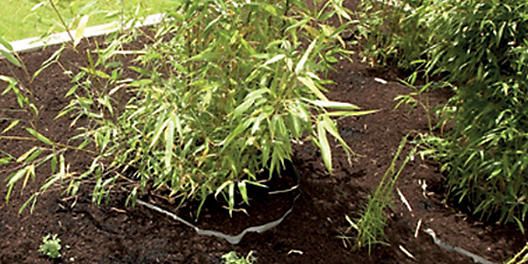
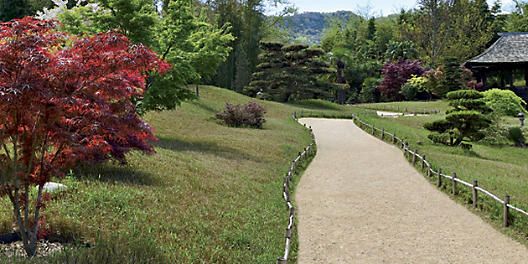
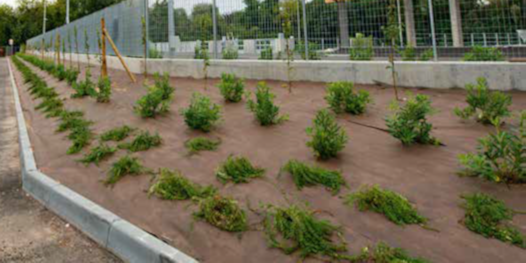
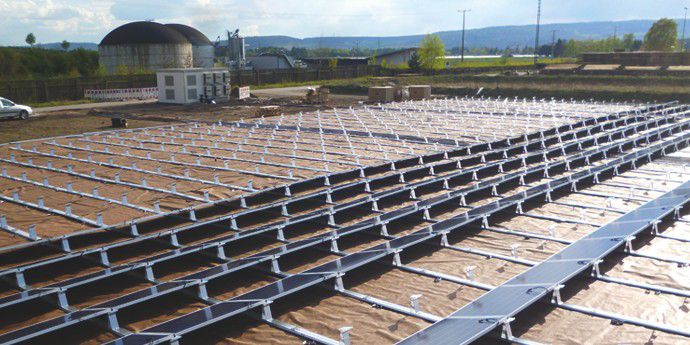
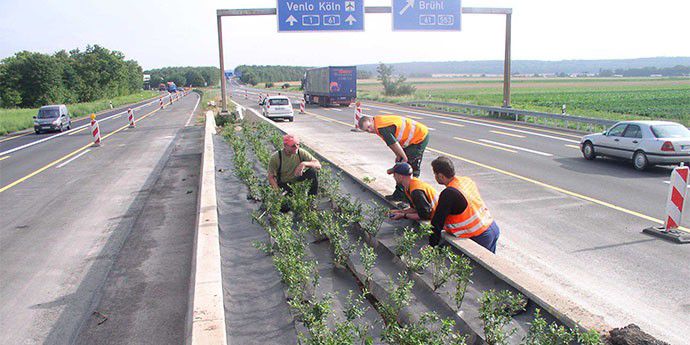
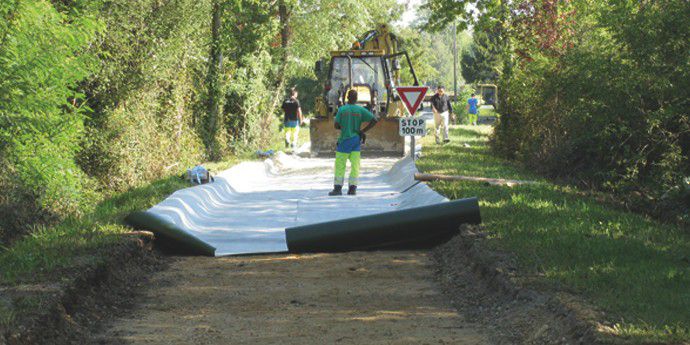
Chemical free landscaping
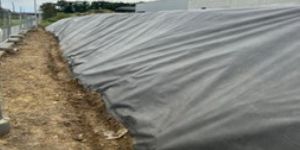
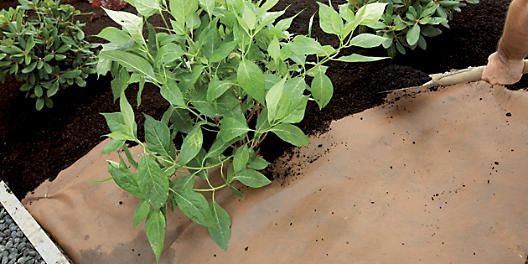
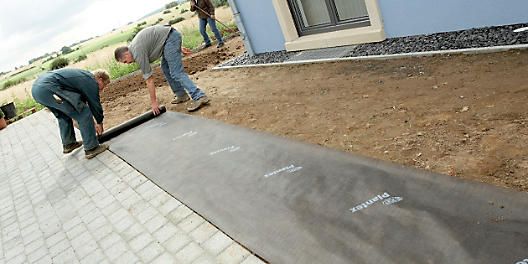
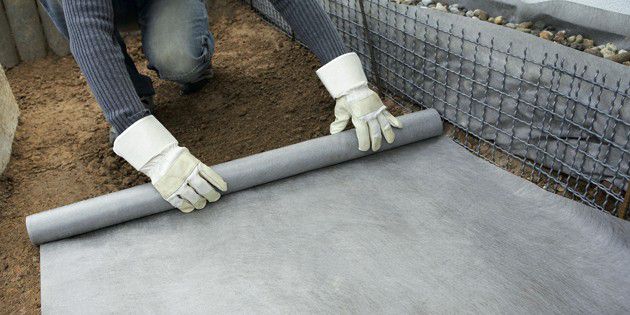
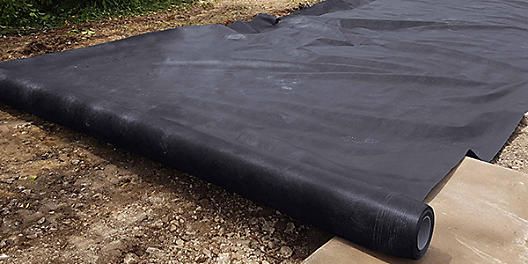
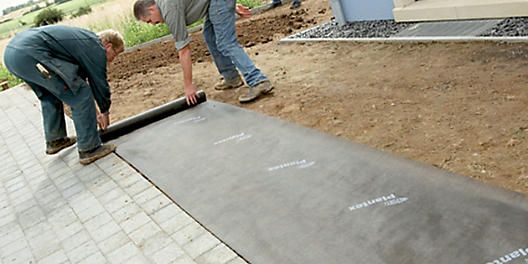
From high quality, chemical free landscape fabrics and root barrier solutions to surfacing solutions, DuPont™ Plantex® offers a complete range of smart products for professionals.
Five reasons to make DuPont™ Plantex® your preferred choice:
- Help to reduce the use of chemicals in landscaping
- Highly efficient weed and root resistance due to thermal bonding product technology
- Maintains its performance over long life time
- No risk of any substance release from the material
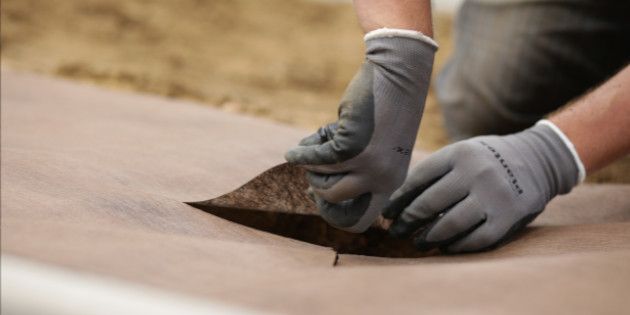
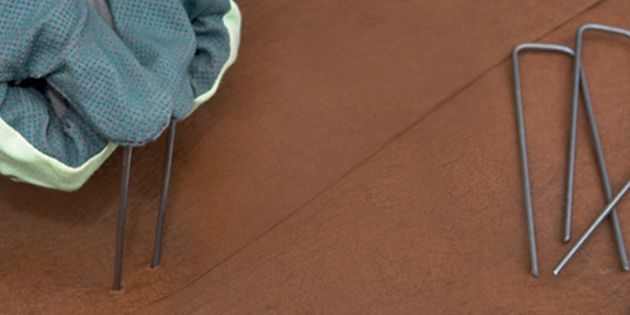
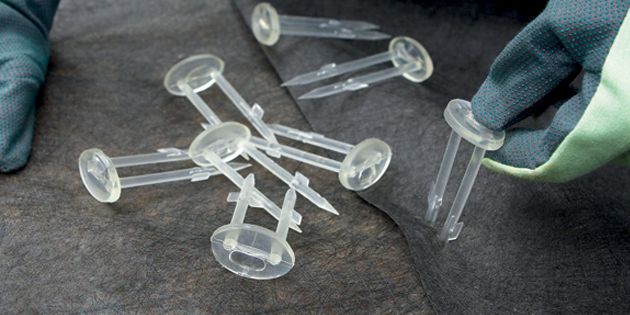
- Quick and easy installation: can be cut to required dimensions by scissors or cutters without risk of fibre release from material over time


CASE STUDIES

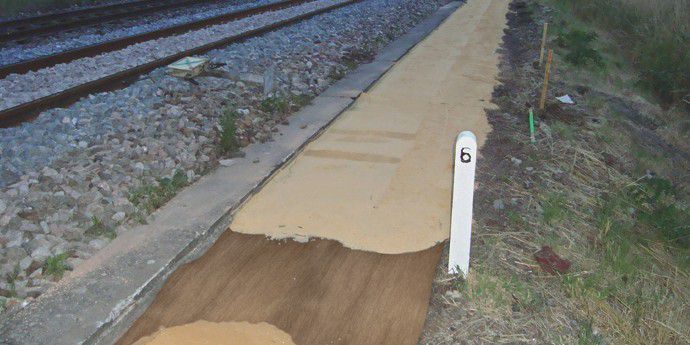
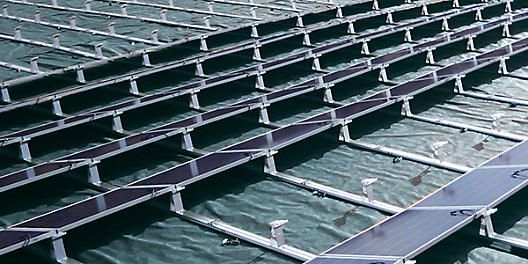
Typar® and Plantex® Gold – Helping the railway system to meet new technical and environmental goals