How to install Plantex® Gold
Article
Step 1: Prepare the soil and rake if necessary
Ensure all weeds are thoroughly removed from the installation area before laying Plantex® Gold weed control barrier.
Step 2: Roll out Plantex® Gold
For large areas, overlap Plantex® Gold at least 10 cm to prevent weed growth along the edges. Use Plantex® Anchor Pins or Bio Pins to secure the joins. Apply at least 2 pins per running meter. On large unplanted areas weigh down Plantex® Gold with stones or with the new plants to ensure that no movement occurs whilst planting through.
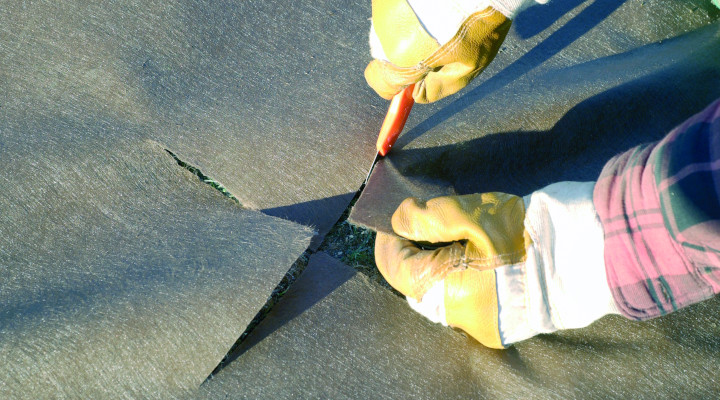
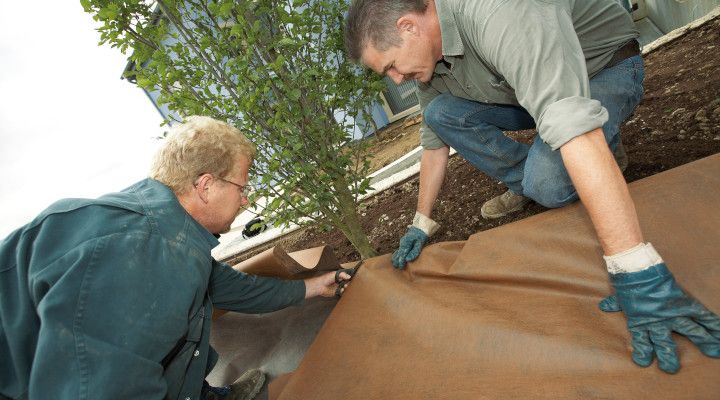
Step 3: Cut an “X” shape in Plantex® Gold
Using sharp scissors or a knife, make the cut either over an existing plant or at the position where the new plant is to go. Work Plantex® Gold gently over existing plants or plant through with new ones.
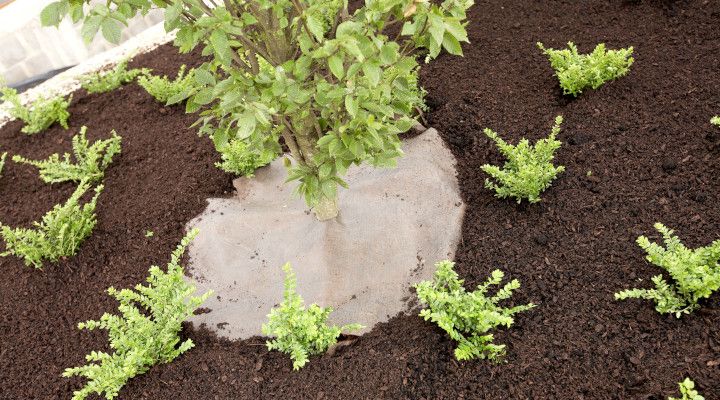
Step 4: Covering
Plantex® Gold can be used covered as well as uncovered. If you use Plantex® Gold covered, apply at least a 5 cm layer of mulch e.g. bark, straw, gravel, decorative chippings etc. Plantex® Gold is very strong, light and versatile, it will last up to 3 years when used uncovered and 25 when covered.
Our warranty is not valid if passage of or contact with machines and/or equipment has taken place, for which our products are not suitable and which have resulted in a possible degradation of our products.